
What should you do immediately after water damage?
Water damage shows up fast.
Sometimes it’s blatantly obvious like a burst pipe spraying under the sink. But other times it’s subtle, like an ominously damp ceiling spot that wasn’t there yesterday. Either way, the first few hours after water intrusion matter more than most homeowners realize.
What you do – or don’t do – in that window often determines how extensive the repairs become.
Water damage restoration isn’t just about cleaning up what you see. It’s about stopping moisture from spreading into drywall, insulation, flooring, and framing. Once water gets into building materials, the clock starts ticking.
According to the CDC, mold can begin growing within 24–48 hours in damp conditions. That timeline surprises people, but it shouldn’t.
As Jamar puts it:
“The first thing is identify the source and stop it. Then call a professional restoration company to assess the damage. Time is very important.”
Jamar Hinton
This isn’t about causing panic though – we’re emphasizing the importance of doing things in the right sequence.
In our complete guide to water damage restoration, we walk through the full process from start to finish. Here, we’re focusing on one thing: what to do immediately.
Let’s take it step by step.
Step 1: Stop the Water, But Do It Safely
If water is actively flowing, that’s priority number one.
Shut off the local supply valve if you can access it safely. If you’re not sure where the leak is coming from, turn off the main water supply to the home. Every homeowner should know where that valve is before an emergency happens.
But safety overrides speed.
If there’s standing water in a basement or lower level, especially near outlets or appliances, do not walk into it blindly.
“If your basement is flooded, you don’t want to just go down there. You can get electrocuted.”
Jamar Hinton
Electricity and water don’t give warnings, so if there’s any doubt, call for help.
Also consider the water source. Clean water from a broken supply line is different from gray or contaminated water from a backup. If sewage is involved, this is no longer basic cleanup… it’s an emergency that requires protective equipment and controlled removal.
The key here is control: Stop the source safely so the situation doesn’t escalate.
If water is still running or you’re unsure about safety, call now. Don’t risk injury trying to manage it alone.
Step 2: Call Before You Start Tearing Things Apart
The next instinct is usually action.
Grab towels and mops. Start pulling up carpet. Rip out drywall and anything else that looks damp.
Slow down. Breathe.
We understand the urge to “do something.” But tearing materials out without a plan can make proper water damage restoration harder. DIY water cleanup can actually make things worse.
“A lot of times they think they can handle it themselves with towels… but they don’t have the equipment to properly dry it.”
Jamar Hinton
Box fans and household dehumidifiers are not designed to dry saturated structural materials. They move air, but they don’t create the controlled drying environment needed to extract moisture from within walls and subfloors.
And once drywall is removed or flooring is disturbed without containment, you can unintentionally spread moisture – or worse, microbial growth – into unaffected areas.
That doesn’t mean you can’t move belongings out of standing water or protect valuables. It just means don’t escalate demolition before understanding the scope.
If you’re unsure whether you should start pulling materials, read more about whether you can fix water damage yourself and when you shouldn’t – because sometimes waiting five minutes to make a phone call saves days of unnecessary repair.
Call and describe what you’re seeing before you start tearing things out. A quick conversation can prevent a bigger mess.
Step 3: Document Everything Before Moving Too Much
Before anything gets rearranged, grab your phone.
Take pictures of:
- The source of the leak
- Affected ceilings and walls
- Flooring damage
- Standing water
- Personal property impacted
Then take more.

“Photos, photos, photos.”
Jamar Hinton
If insurance becomes part of the conversation, documentation protects you. The Insurance Information Institute reports that the average water damage claim exceeds $11,000.
That’s not anyone’s definition of minor.
Photographs establish the condition of materials before mitigation begins. They help demonstrate sudden damage versus long-term seepage. They help justify replacement when needed.
Also save receipts for emergency purchases like fans, tarps, or plumbing repairs. Those details matter.
And before automatically filing a claim, it’s wise to understand whether water damage is covered by homeowners insurance in your specific situation. Not every scenario is.
Before you call your insurance carrier, call us. We’ll help you decide whether filing a claim makes financial sense.
Step 4: Start Drying – But Understand What “Dry” Means
If water has stopped and the area is safe, drying should begin immediately.
Open windows if weather allows. Increase airflow. Remove wet rugs and cushions. Lift items off damp flooring.
But here’s the critical part:
Dry to the touch is not dry by measurement.
Drywall absorbs water internally. Insulation traps moisture. Hardwood can hold water underneath even when the surface feels firm.
“Nine times out of ten… the loss becomes mold involved because it’s been neglected when it was just a water issue.”
Jamar Hinton
That isn’t meant to alarm. It’s meant to emphasize that incomplete drying is what creates mold problems – not water alone.
Professional water damage restoration uses commercial air movers and dehumidifiers placed strategically to create pressure differentials that pull moisture out of materials. Moisture meters track progress daily.
Without those tools, it’s easy to assume things are fine when moisture is still present.
If you’re concerned about mold risk, especially after 24–48 hours, it’s important to understand whether water damage can cause mold in your specific scenario and what prevention actually requires.
If you’re unsure whether your space is truly dry, let us measure it properly. Guessing is what leads to secondary damage.
When You Can Wait – And When You Absolutely Shouldn’t

Let’s simplify this.
You should not wait if:
- Water is actively entering the home
- There’s standing water
- Sewage is involved
- Multiple rooms are affected
- Electrical systems may be compromised
You can likely schedule next-day evaluation if:
- The source has been fully stopped
- The affected area is small
- No structural materials appear saturated
- No contaminated water is present
But even small ceiling spots deserve assessment. Water travels downward and outward. What looks minor sometimes isn’t.
Water damage restoration works best when it starts early, i.e. before materials warp, before insulation saturates, before microbial growth has time to establish.
Not sure where your situation falls? Call and talk to a technician right now. We’ll tell you straight.
Conclusion
The first hours after water damage set the tone for everything that follows.
- Stop the source safely.
- Call before escalating.
- Document thoroughly.
- Begin proper drying immediately.
Most water damage situations are manageable when addressed quickly. What turns them into major repairs is delay, assumption, or incomplete drying.
When you’re dealing with water damage, you don’t need to panic. You need a clear plan.
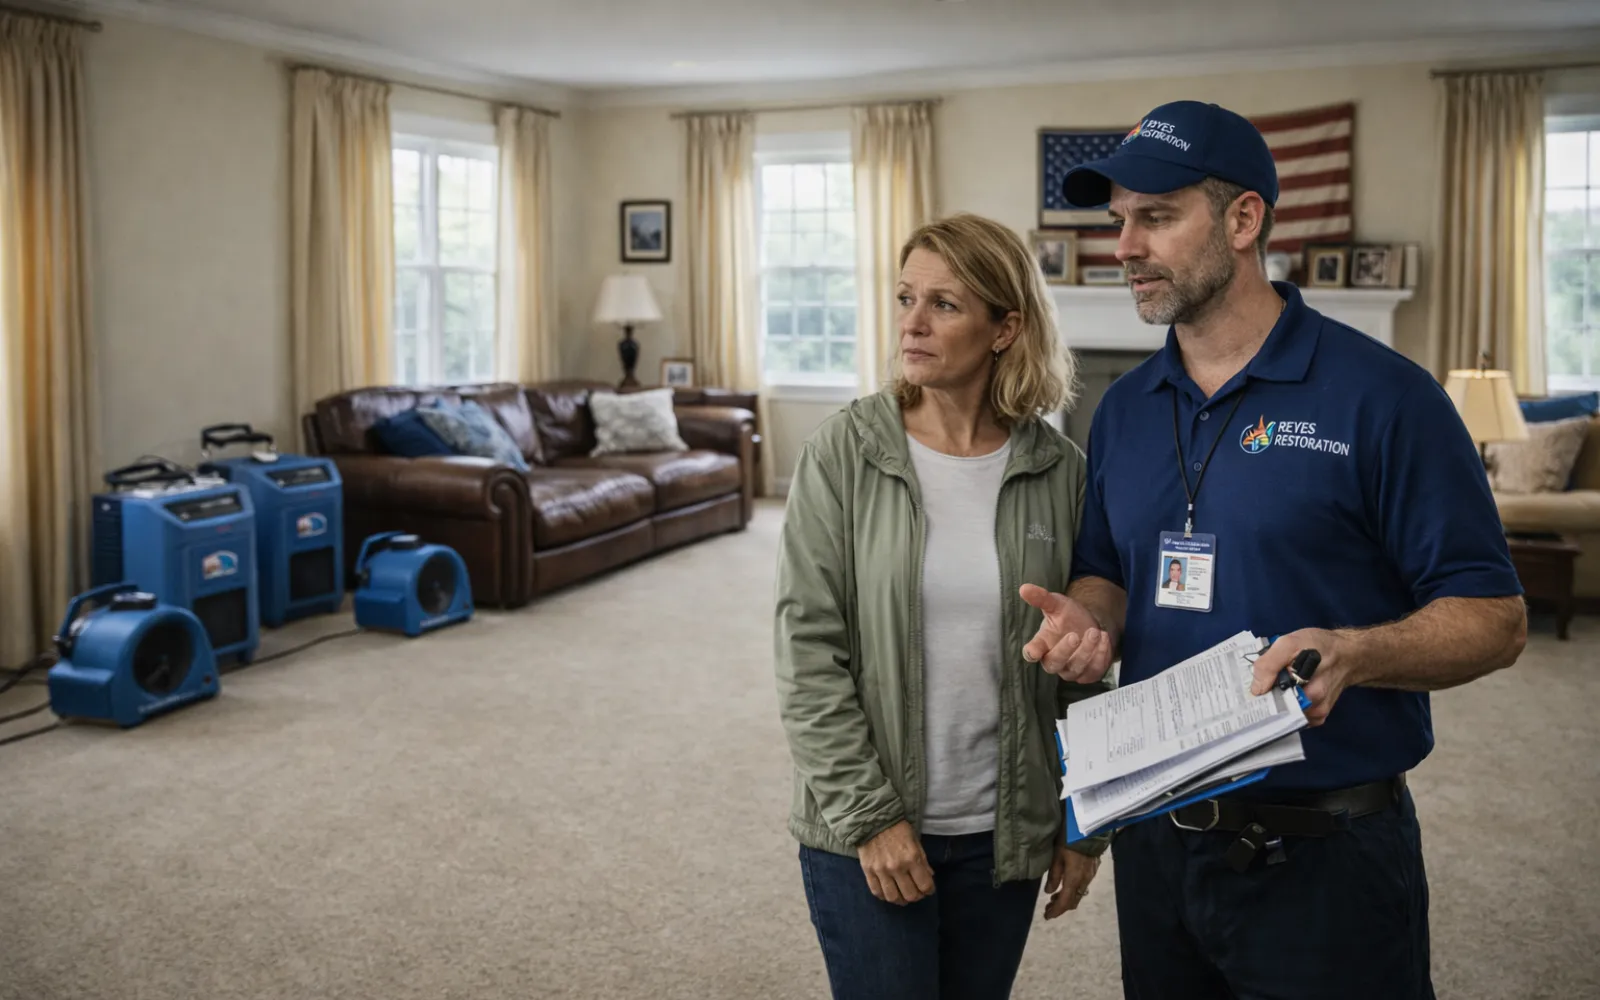
If you’re dealing with water right now, call Reyes Restoration and talk to a real technician. The sooner professional water damage restoration begins, the more we can preserve and the less invasive the repairs usually are.
That’s how you protect your home. And your peace of mind.
Reyes Restoration is one of the most trusted names in restoration in central Maryland including Baltimore, Annapolis and Washington DC.
Specializing in water & fire damage restoration, mold remediation, and reconstruction, we leave clients across Maryland and the DMV in a better position than before the loss.
Call 410-762-4085 and speak to a technician today!